Xolo Play - Android ROM flashing for Dummies
To start with, I'm a dummy too :-P
I know you might not wanna hear all my failure stories, so to be short, i'll present you with the easy working model.
I'm not responsible for damaging your phone or voiding warranty.
In this procedure, you will do most of the job from your mobile, which means the kernel will be untouched. So mostly you are out of danger from bricking your phone.
This procedure is to flash MIUIv5 into Xolo Play mobile.
MIUI is using nearly 60% of RAM most of the time making apps running a little slow. otherwise the UI is smooth.
Steps:
I know you might not wanna hear all my failure stories, so to be short, i'll present you with the easy working model.
I'm not responsible for damaging your phone or voiding warranty.
In this procedure, you will do most of the job from your mobile, which means the kernel will be untouched. So mostly you are out of danger from bricking your phone.
This procedure is to flash MIUIv5 into Xolo Play mobile.
MIUI is using nearly 60% of RAM most of the time making apps running a little slow. otherwise the UI is smooth.
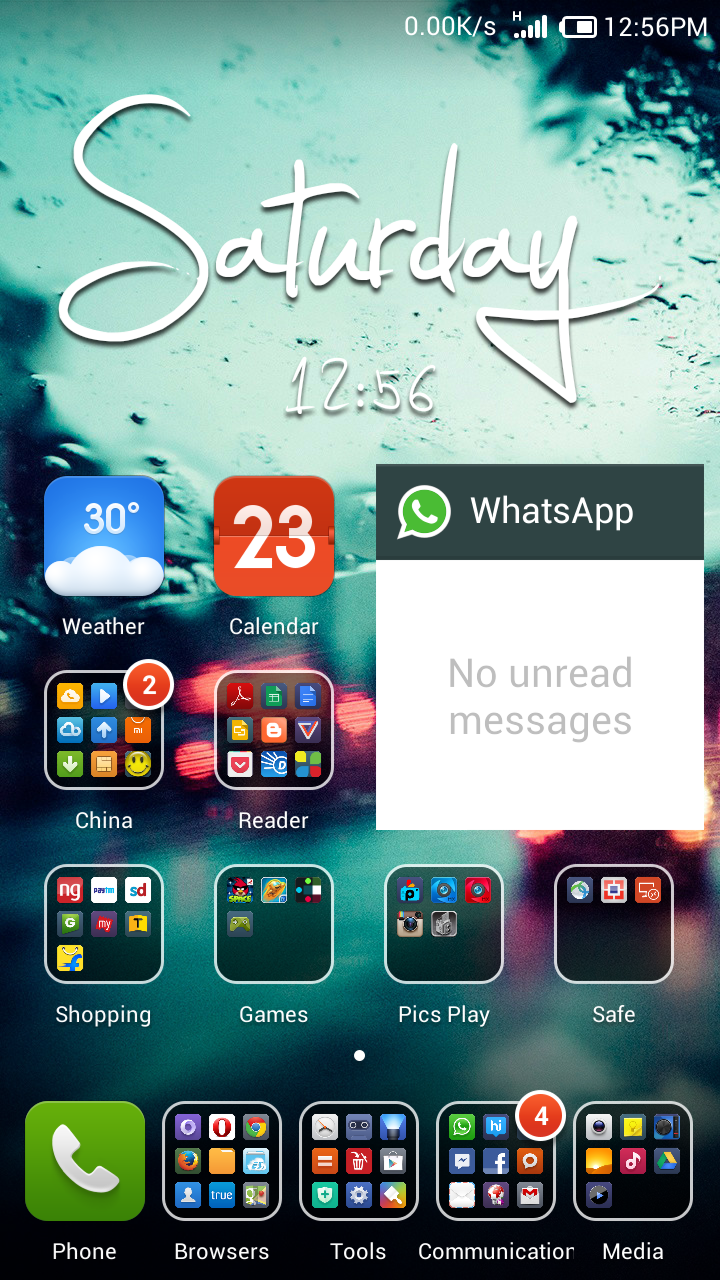
It's my phone screenshot(MIUI screenshot app) with only required apps all in one screen (MIUI doesn't have Menu, all apps on desktop)
Steps:
- You need a rooted phone. This will void warranty.
- open dialer and type *7813294# (Source: droidiser.com)
- Follow the instruction and that's it.
- You might also need Superuser app to give root permissions to apps.
- If you have External Micro SD card, then copy everything to your PC (You can pick whatever you need in a later point)
- Install Titanium Backup * root
- backup all your apps you needed the data including Contacts, notes, whatsapp, messages, system settings,.. etc.
- Just stay with this app for a while and get to know the app better.
- after completion of backup, copy the TitaniumBackup folder from your memory card to PC for safekeeping.
- If only you want to restore the mobile as it was before as intact, you need something called "Nandroid Backup".( read desc. it requires BusyBox)
- Clean the memory card (You can keep your photos and stuff, delete everything else, you can do this after flashing too)
- Enable USB Debugging. (Settings->Developer Options(enable it)->USB Debugging) Help
- Download MIUI for Xolo play from here
- Copy all the zip files to your SD card. IMPORTANT
- Download CWM Recovery from here (Source) IMPORTANT
- Download The tools from here
- Extract platform-tools and keep it.
- Move the CWM Recovery (step 8) "recovery.img" to inside this folder in PC.
- Install adb-setup-1.3 (give Yes to all)
- Till now no harm done to your phone (except rooting) and you are ready to go !!
- Switch off your phone and disconnect USB (You need above 60% battery power).
- Power on the phone by pressing POWER+VOLUME_UP (it will take some time)
- You'll see FASTBOOT on screen (That's it)
- If you want to use your phone, long press power to switch off and press power again to start.
- Connect you phone again to your windows PC
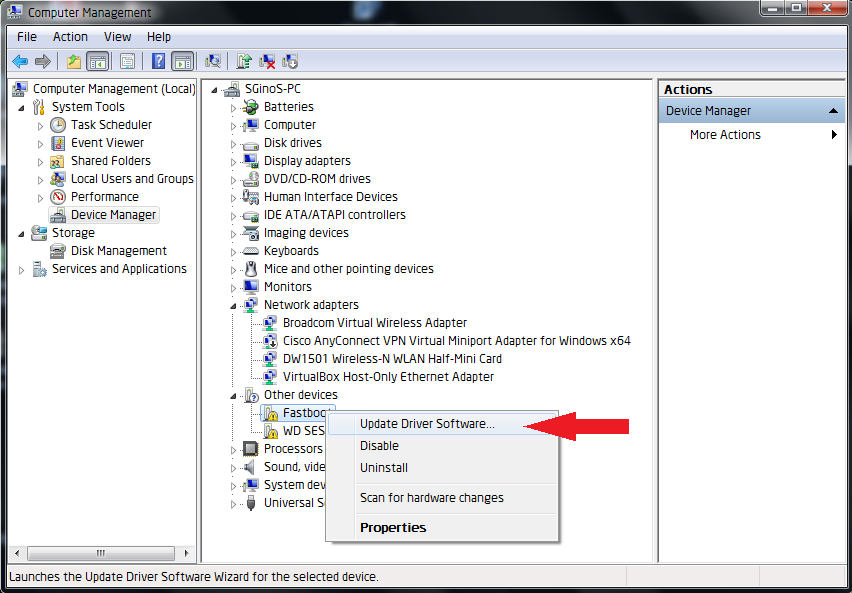
- Wait for the "fastboot" drivers to install (confirm if it works)
- If the driver installation fails, follow these Steps.
- In your PC, open platform-tools folder in cmd.
- type fastboot flash recovery recovery.img and enter. This will install custom recovery to the recovery partition.
- Xolo Play Kernel is too adament that it will revert the recovery back to stock android recovery once you restart out of fastboot, and you dont want that.
- Power off phone by long pressing power button and then only (must) disconnect USB from PC.
- Long press POWER+VOLUME_DOWN
- You'll see RECOVERY on screen
- In 2 seconds it will open CWM Recovery page (Read the title clearly).
- If you see Android stock recovery in small blue text as tittle,
- Continue from STEP 11.
- If you see error page saying about something missing,
- wait for it to start saying XOLO then, again power down the device and,
- continue STEP 15.
- If you are seeing CWM Recovery page, You are good to go. (you connect to external charging again)
- any Recovery menu will use volume up & down to navigate and power to select menu.
- CWM recovery is touch supported (Try it).

- Select "wipe cache partition" , "wipe data/factory reset", and "advanced/wipe dalvik cache"
- "install zip from sdcard" and select the file and keep doing this for all files in order
- 4.5.23.zip
- update 1.zip
- update 2.zip
- update 3.zip
- CallVolume_XyrusOS_or_Stock.zip
- Select "wipe cache partition" , "wipe data/factory reset", and "advanced/wipe dalvik cache" again.
- "reboot system now".
- First boot takes long time. Do all initial setup.
- MIUI doesnt include any google app, it required mi account.
- for me, giving email was end up in error, i used phone number to register as the cost of one national SMS.
- Install "Titanium Backup" again(requires root) from MI store and restore your google play store (you should have the backup). It may throw error and restart, but you'll have your play store.
- Open app "Security" select "permission" to enable root permissions.
- Restoring Contacts using titanium backup was a bad idea for me.
- Mi Contacts app was missing one SQLite column which i had in my backup.
- It caused crashing of android.process.acore by per second basis.
- I restored my contacts from my google account, all intact, it's automatic when adding google account to the system.
- I also uninstalled and reinstalled Gmail, as it was suggested somewhere for the crashing issue.
- I Hoped the camera app and radio app will get some improvements. But it's the same :-(, may be i have to change the kernel next time.
- Overall, the MIUI UI is smooth and takes more RAM.
- There is no option to move apps to SD card or to set SD card as default storage.
- I've installed 3rd party tool to move apps.
- After moving Angry Birds Space, the app went missing from homescreen, there is no other way to bring it back, so i moved it back to internal storage.
- But later when i install a lot of apps, i checked, most apps are using sd card only.
- I installed nearly 55 apps and below is the system memory usage.
.png)
.png)
- Keep a check with all the settings.

Comments
Post a Comment